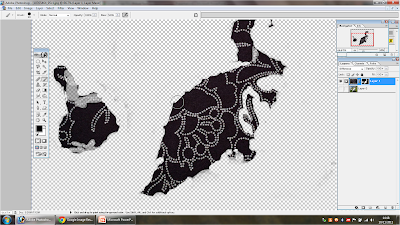
I decided to do some experimentation around the areas of blending, masking and selection to adapt on my skills and techniques I have learnt from recent demo's. To start off with I opened this image of two swans in Photoshop
I then copied an image of a dotted pattern into the original image so that I could blend it with the swans so that it would create a decorative pattern on them, next I set the blending mode to "Difference"
I then created a new masking layer and set it to reveal all so that I could make parts of the copied image appear or disappear depending on what colour brush I use. I then removed any access black parts to the image so that I was just left with the dots, that way the image would fit in with the original background,
Using the "Pen Tool" I cut out the swan,
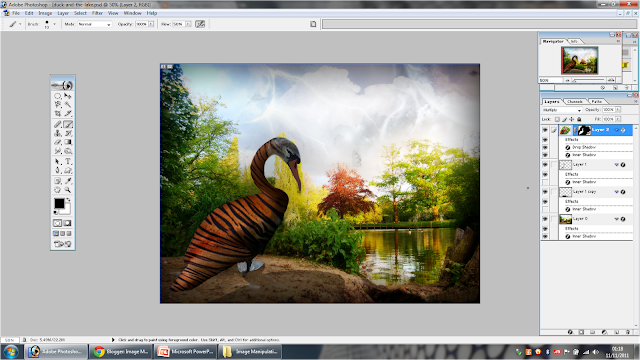
I then dragged the cut-out swan into this image of a more detailed, brighter looking lake scene, I then made a shadow by duplicating the swan layer then filling it black and scaled it to fit the background,
I then removed any parts of the duck that were still showing on the new image using the "Clone-Stamp Tool"
I then decided to create a new design for my swan, I found an image of a tiger from the web and imported to Photoshop, I set the blending modes to "Hard Light" next I added a new masking layer and set it to reveal all again,
Using the "Brush Tool" with a black color I removed parts of the copied tiger image that were not wanted, lastly I created an "Inner Shadow" using blending options.
This was a great use of experimentation, it helped me re-cap the techniques and tools used in recent demo's and allowed me to improve on those skills further so that they will be more clear when using them in the future.


No comments:
Post a Comment